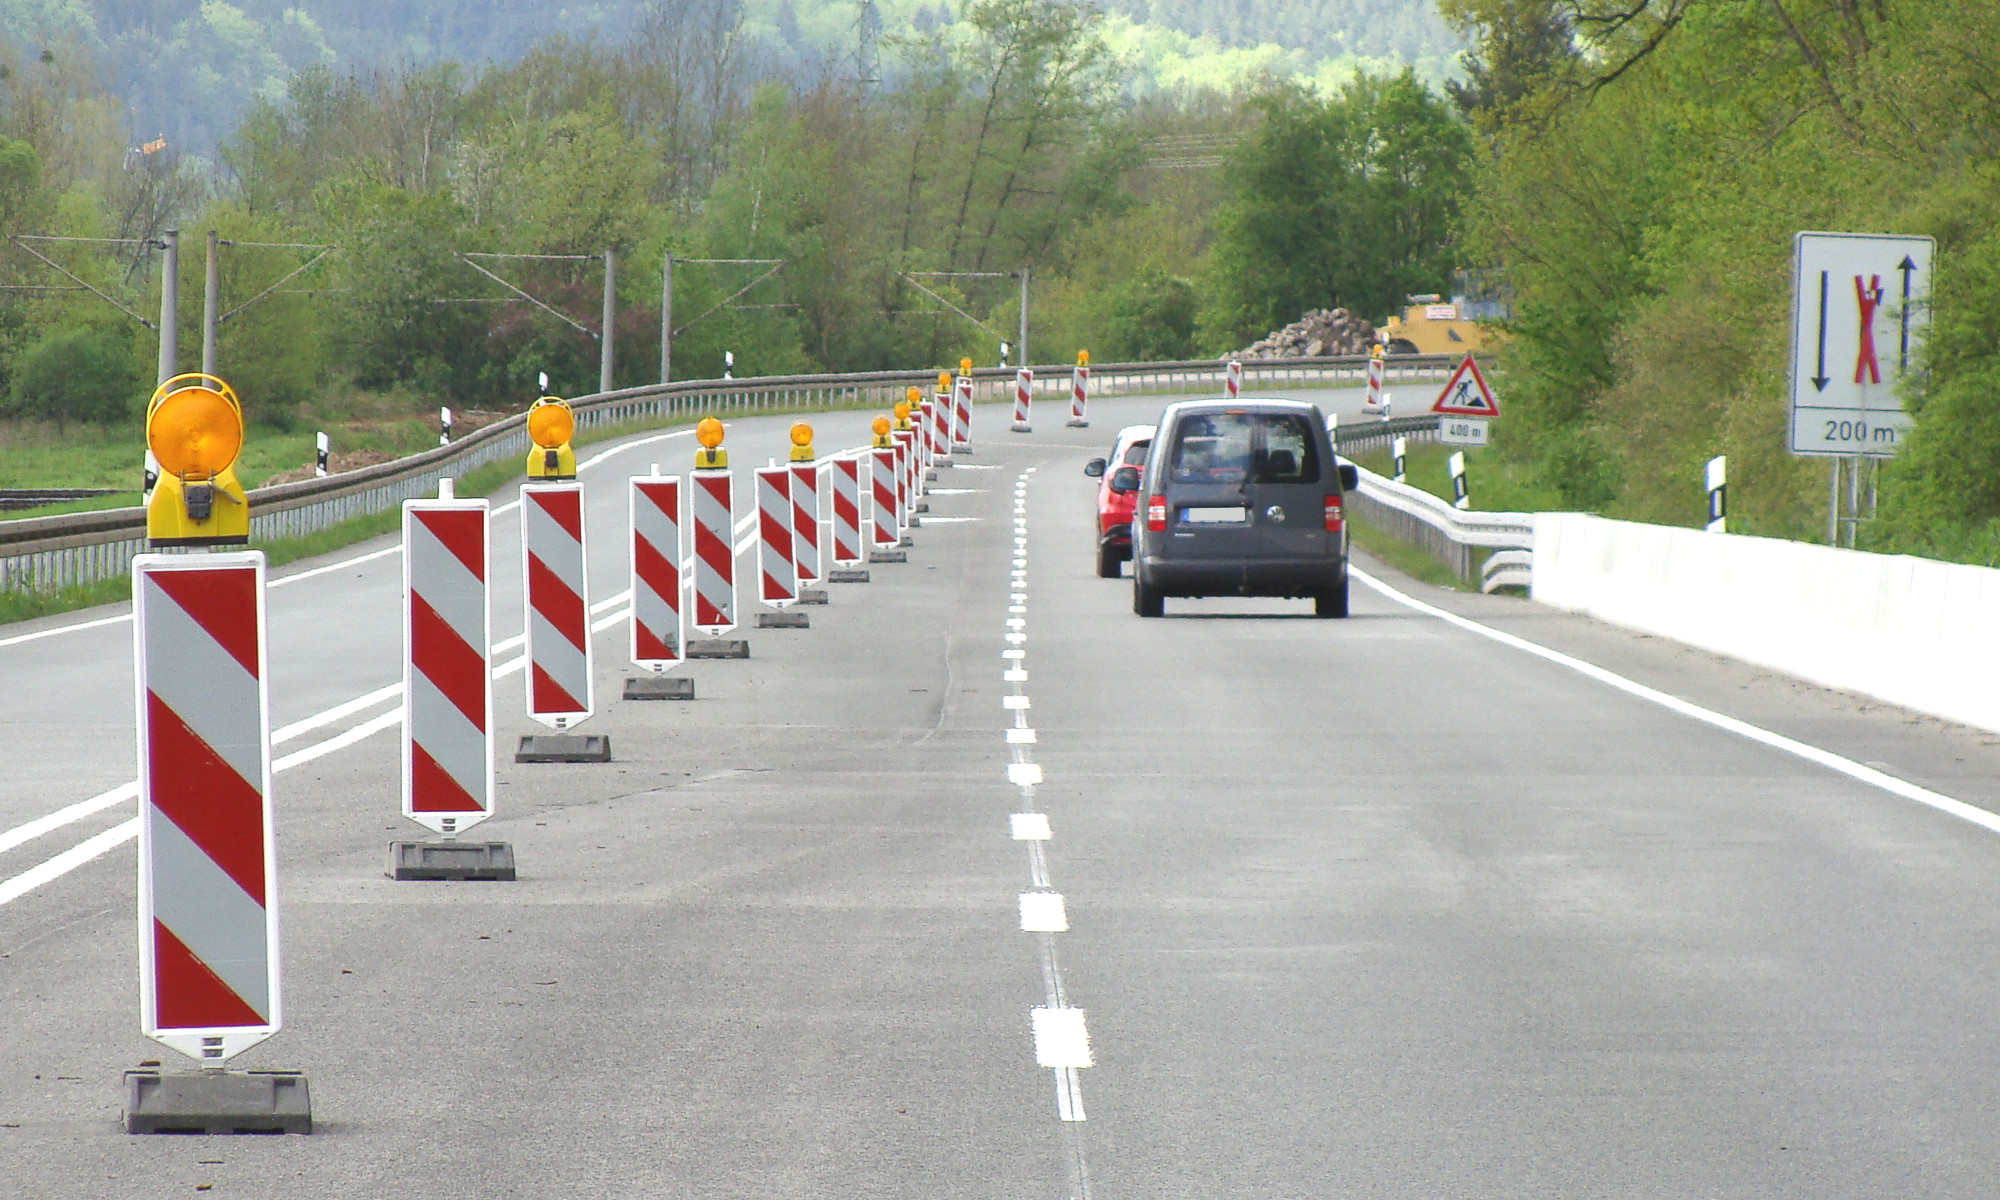
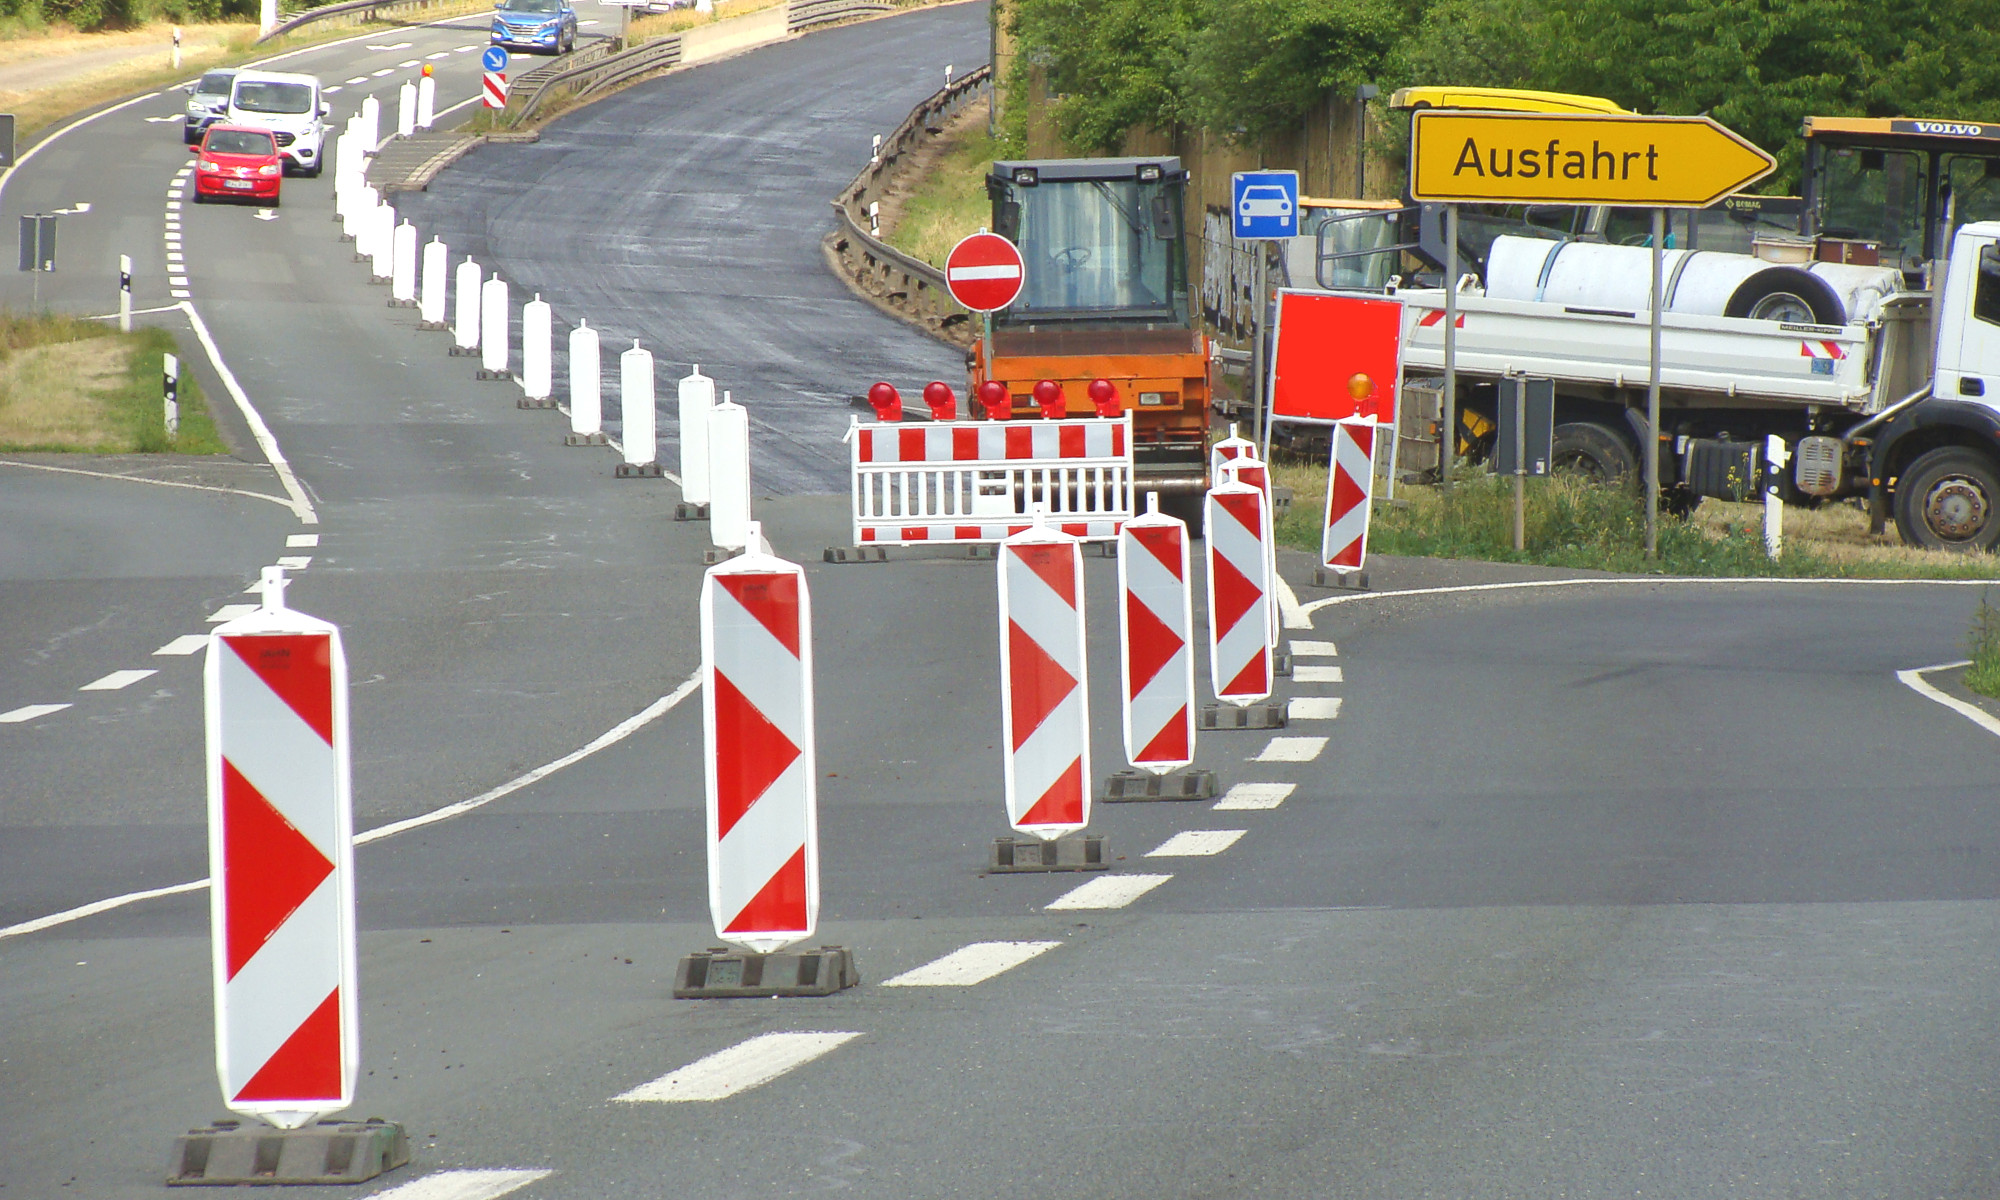
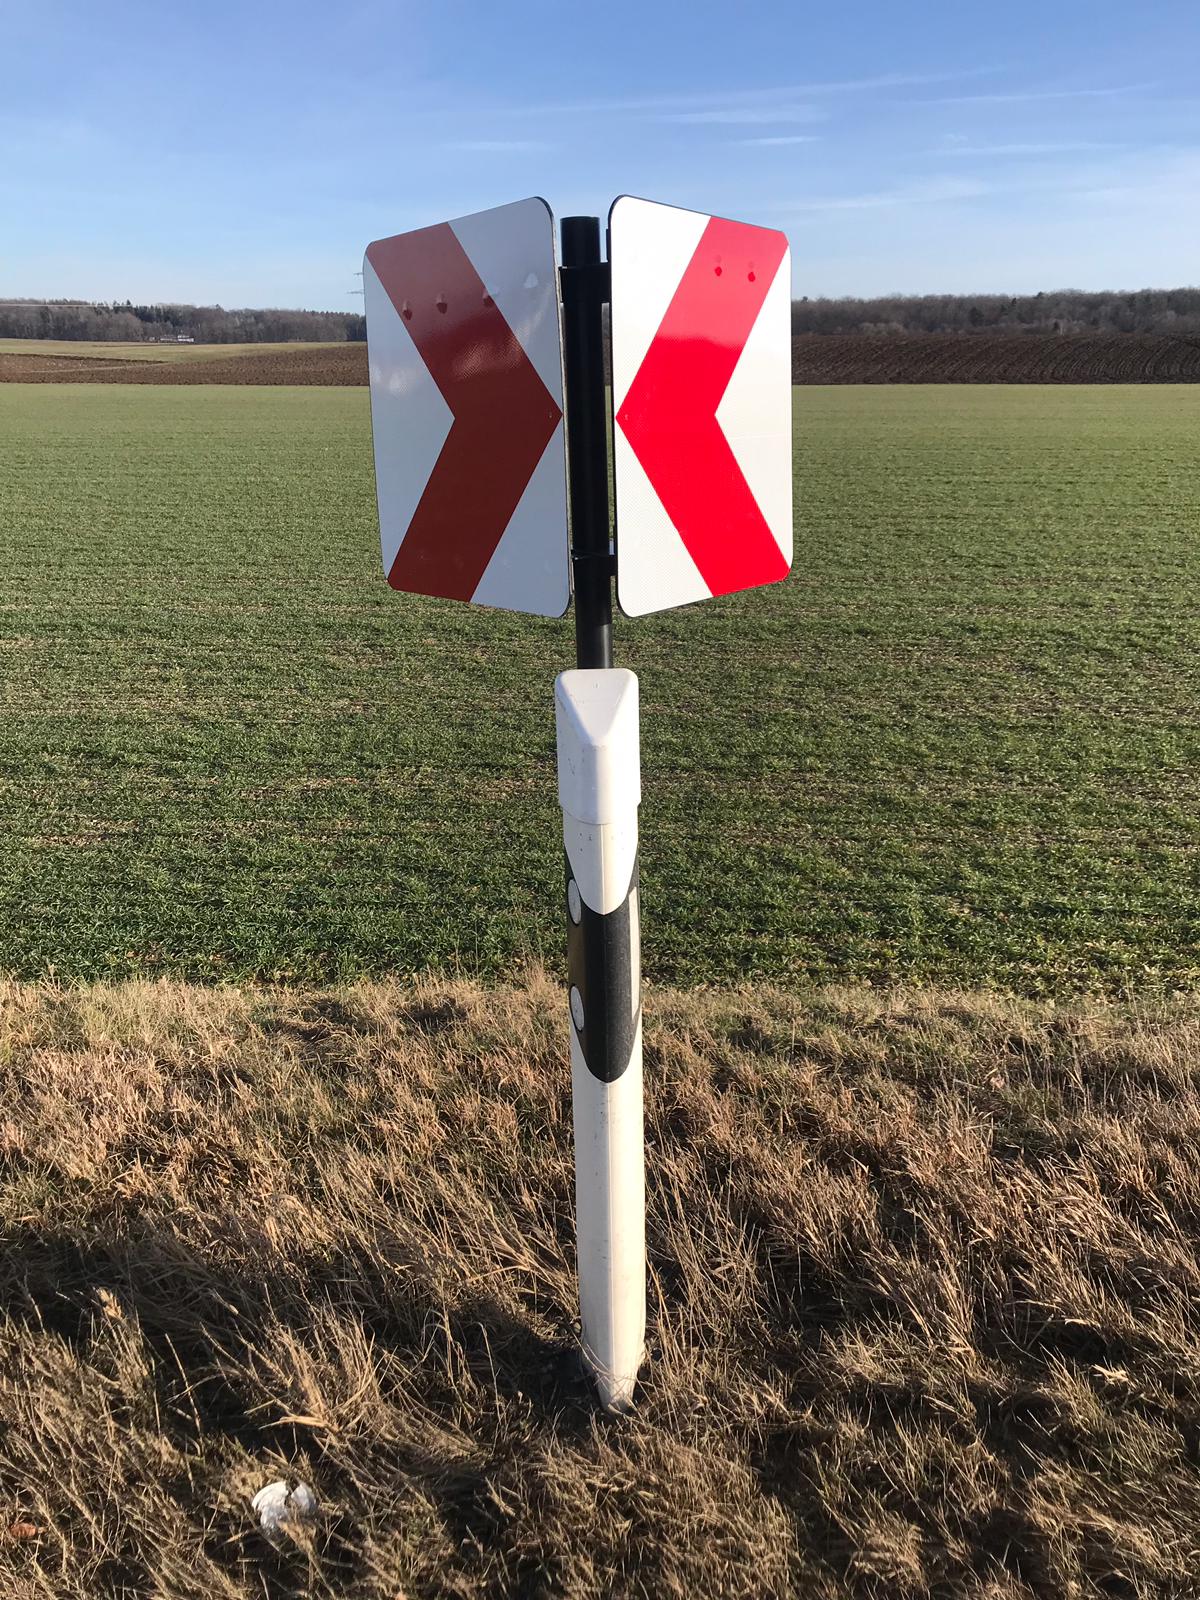
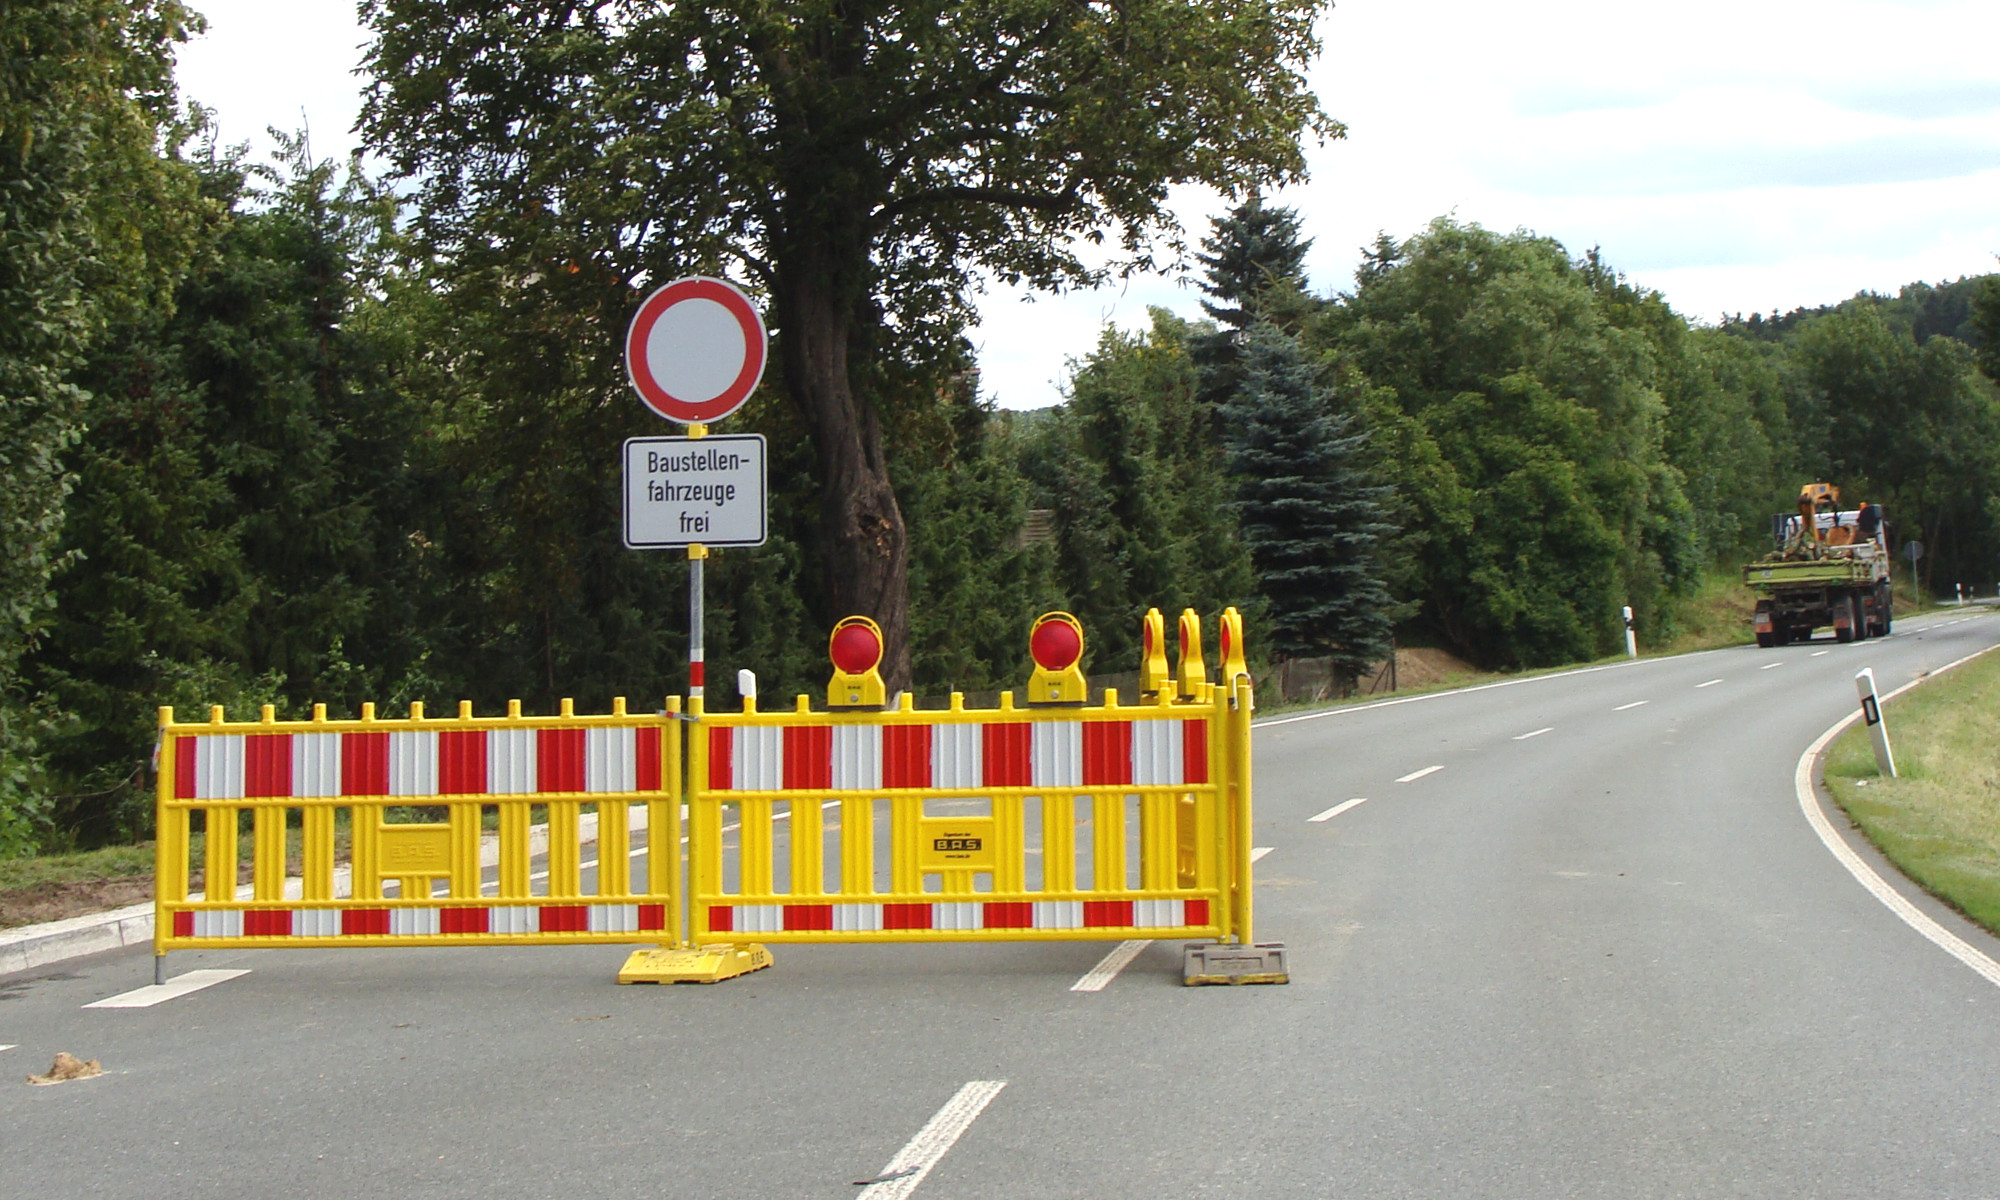
The signs have different heights, just like their real life prototypes:
Here is a sample of using one of temporary traffic signs on layout. The sign is installed without drilling holes and just fixed on the surface with a tiny drop of glue:
The set of temporary traffic sings is available here:
https://www.1zu220-shop.de/Zmodell/Zube ... 50036.html
ZM-FP-001, ZM-FP-002 – Foot plates
As I mentioned above, I decided to offer spare foot plates also separately. Here is a real prototype:
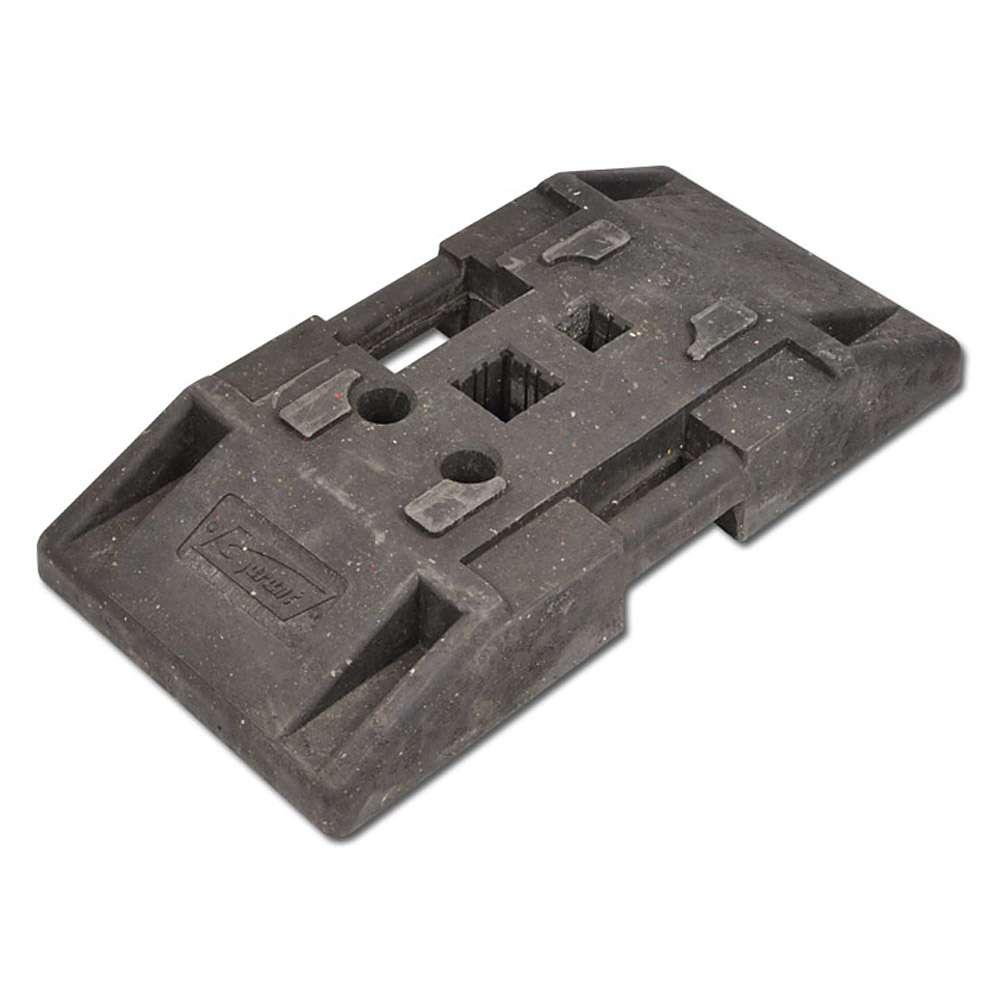 https://static.esska.de/shop/bilder/lbi ... 3447_z.jpg
Of course, I had to change proportions according to Z scale limitations:
ZM-FP-001 – Single foot plates:
ZM-FP-002 – Double foot plates:
Each set contains 10 pieces. The foot plates are available here:
ZM-FP-001 – Single foot plates:
https://www.1zu220-shop.de/Zmodell/Zube ... 50018.html
ZM-FP-002 – Double foot plates:
https://www.1zu220-shop.de/Zmodell/Zube ... 50019.html
ZM-MS-026, ZM-MS-027 – Bus stop signs in two different styles
One more eye-catching accessory is ready to decorate the layout – modern bus stop signs. This is a must have thing to those who own V-VI Era layouts with urban, suburban and also rural scenes. The signs are 100% true to scale and extremely finely detailed. The models are based on real prototypes: for the first style, I used bus stop signs in Dortmund – the city where I live now, while the second style is based on design from the district of Unna, our neighbor city.
Prototypes in Dortmund:
 https://upload.wikimedia.org/wikipedia/ ... nd_Hbf.jpg
 https://www.ruhrnachrichten.de/wp-conte ... ze_238.jpg
Prototypes in Unna:
https://www.ruhrnachrichten.de/wp-conte ... ze_238.jpg
Prototypes in Unna:
 https://www.hellwegeranzeiger.de/wp-con ... 48x824.jpg
 https://www.hellwegeranzeiger.de/wp-con ... _Str_0.jpg
ZM-MS-026, style 1:
ZM-MS-027, style 2:
https://www.hellwegeranzeiger.de/wp-con ... _Str_0.jpg
ZM-MS-026, style 1:
ZM-MS-027, style 2:
Of course, it doesn’t mean that the scope of usage of these signs on layouts is limited only to this area – the same design, but only with different colors can be met in other cities across Germany, too.
The signs are made of 0.3 mm photo etched nicker silver with half-etched elements. I meticulously designed each single sign with its own unique bus stop names. Plastic laser printed labels are manually attached to both sides of the sign. Each set consists of 10 signs and 3 or 4 different heights (according to a different number of bus routes):
ZM-MS-026, style 1:
ZM-MS-027, style 2:
The signs feature almost invisible stoppers that provide correct installation at the right depth. The signs are available here:
ZM-MS-026, style 1:
https://www.1zu220-shop.de/Zmodell/Zube ... 50034.html
ZM-MS-027, style 2:
https://www.1zu220-shop.de/Zmodell/Zube ... 50033.html
ZM-PL-001 – Warm white LED filters
A small but useful item is available now – warm white LED filters. They change cool white LED light to warm white. Someone may think: “He attempts to sell the air”. My answer to this: Nope. And let me explain why.
The story started already many years ago, when I started equipping locomotives from my own collection with Velmo decoders. Some of these decoders are fitted with cool white headlight LEDs, while prototype locomotives were equipped with incandescent bulbs all the time. This imperfection is explained by the fact that the LEDs required for this particular construction exist only in cool white version. I mean digital decoders for BR 150, 151 and 103 electric locomotives, and also NOHAB diesel locomotives.
Of course, I tried to find a substitute for these annoying cool LEDs, but this research was never successful. At first, I tried just to paint the LEDs with transparent yellow paint, but it was not very efficient because it is difficult to achieve any good results: the paint doesn’t want to adhere to a glossy surface of LED, and what is more important, it is difficult to achieve desired color temperature because you need to apply absolutely precise dose of paint each time which is obviously impossibly manually with just a paintbrush.
At some point, I gave up with all these tryouts and returned back to this question only recently. The idea was pretty simple: to use yellow transparent adhesive film, to cut out small rectangles from it and to attach them to the LEDs. But it looked that easy only at first glance. I purchased a couple of transparent yellow sheets of Oracal film and started the new experiments.
The resulting light tone was always wrong – either too yellowish, or too orange, or too reddish, or too pink, and so on… I tried all possible variations from Oracal palette – nothing was fitting perfectly! But I didn’t give up at this point, believing that some good solution should still exist. I know it from my professional photographic experience – camera flashes often come with special color filters that allow taking correctly lit indoor pictures with warm white lighting and flash at the same time.
After some research, it turned out that such films indeed exist, but their prices unpleasantly surprised me. Higher prices of such materials have an explanation: a) the film must be heat resistant and be able to withstand high temperatures, and the adhesive must be able not to dry out or evaporate during heating; b) the color tone of such a film must be very special in order to provide correct output color temperature.
At the end, I managed to find such a film that satisfied me both in terms of characteristics, quality and price. I fitted all corresponding locomotives in my own collection with these filters and I am more than satisfied with the results, as the headlights of these models now output not cool white or yellow, but correct warm white light.
I decided that these small items may be useful to others, too, and created a new product. Warm white LED filters have a size of 3.5 x 3.5 mm and arranged in sets of 100 pieces. They are suitable for LEDs installed in Velmo decoders for BR 150, 151 and 103 electric locomotives, and also NOHAB diesel locomotives, but can be used with other types of LEDs, for example with a popular size of 3.5 x 2.8 mm:


